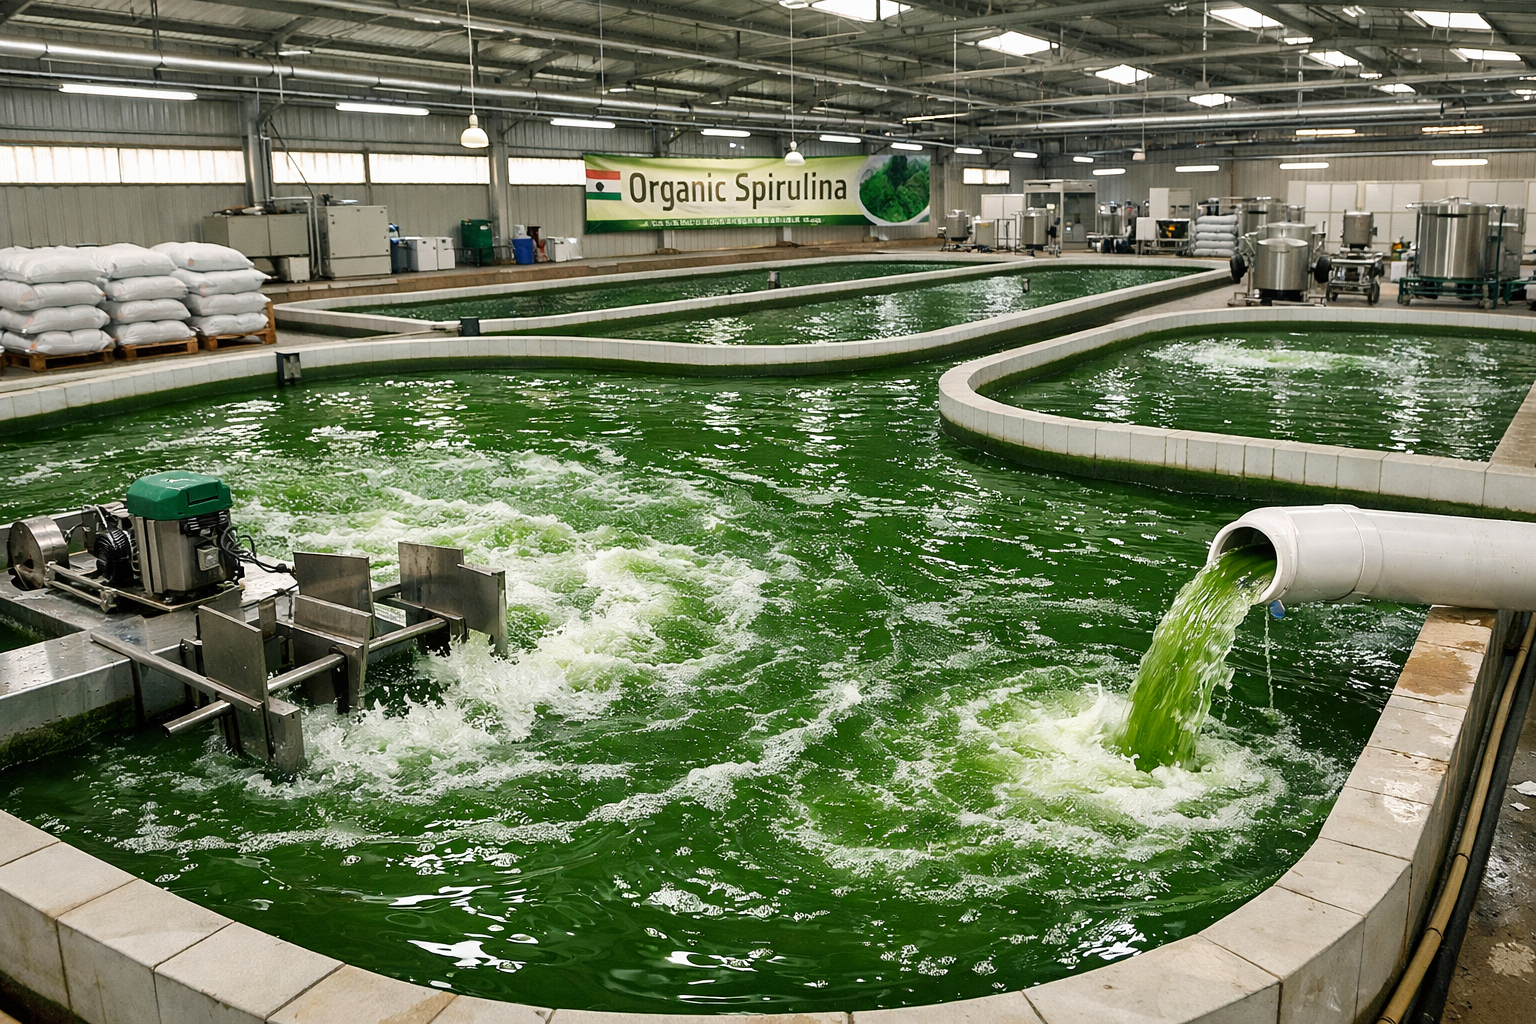
Spirulina cultivation looks deceptively simple from the outside – a green pond under the sun. In practice, commercial production is a tightly sequenced process where each stage directly affects the next, and a failure at any point can compromise the entire batch. This guide walks through the complete process as it operates on a properly run Indian farm, from initial setup to a finished, tested product.
Step 1: Pond Design and Site Preparation
Cultivation begins with the raceway pond itself. Commercial ponds typically run 100 metres in length, 10 metres in width, and 0.4 metres in depth, with sloped bottoms to ease biomass collection. Site selection prioritises semi-arid to tropical climate zones with consistent warm temperatures, and access to clean groundwater, since water quality directly determines contamination risk and yield from day one.
Step 2: Culture Inoculation
A healthy spirulina culture is introduced into the prepared pond, typically sourced from an established producer or verified culture source. The medium is brought to the correct alkalinity – spirulina thrives at pH 9-11 – using sodium bicarbonate and other nutrient inputs dosed precisely against pH trends.
Step 3: Nutrient Dosing and Growth Management
Spirulina requires continuous, carefully balanced nutrient inputs: carbon, nitrogen, phosphorus, and trace minerals in specific ratios. For organic-compliant farms, only OMRI-approved sources are used, a distinction explained in spirulina and carbon source: organic options explained. Temperature is maintained between 30-37°C – the optimal growth range – through a combination of agitation, pond depth adjustment, and water top-up, as covered in understanding pH, temperature, and light in spirulina cultivation.
Step 4: Continuous Agitation
Agitation is not a minor mechanical detail – it is central to culture health. Efficient agitator systems keep the culture in constant motion, ensuring even light exposure, consistent gas exchange, and preventing the oxygen oversaturation that builds up during daylight hours. Poorly agitated cultures develop temperature gradients and uneven growth that compromise final biomass quality.
Step 5: Contamination Monitoring
Throughout the growth cycle, the culture is monitored for contamination – bacterial, viral, or competing algae species, as well as physical contaminants like insect larvae. Fine mesh screens positioned in front of agitators collect debris and require daily cleaning. Comprehensive contamination control is detailed in types of contaminants in spirulina farming: control methods and how to build a low-contamination spirulina system.
Step 6: Harvesting
Once the culture reaches optimal density, harvesting begins using automated harvesting equipment – typically rotary drum filters fitted with 500-mesh screens that separate spirulina biomass from the surrounding culture while allowing the medium to return to the pond. Automation at this stage is critical; manual harvesting introduces both contamination risk and inconsistent yield, a distinction explored in automation in spirulina harvesting: why it’s non-negotiable.
Step 7: Dewatering
The harvested slurry is converted into a thick biomass cake, typically at 20% solids, using assisted dewatering systems or automated dewatering units that apply pressure or vacuum filtration with minimal shear stress to preserve cell integrity.
Step 8: Drying
This is the stage that determines whether all prior careful cultivation work survives into the final product. The dewatered cake is dried using Refractive Window Drying systems, which maintain product temperature below 45°C in an inline continuous process – preserving phycocyanin, beta-carotene, and other heat-sensitive compounds that high-temperature methods destroy.
Step 9: Powdering and Sieving
The dried material is powdered using ball mills or air classifier mills under GMP-compliant conditions, then sieved to a uniform 80-100 mesh particle size and passed through metal detection to remove any foreign particles.
Step 10: Lab Testing and COA Generation
Every batch is tested in an in-house laboratory against a full panel – protein, phycocyanin, beta-carotene, heavy metals, and microbial safety – to generate a batch-specific Certificate of Analysis. This step is non-negotiable for certification and buyer trust, as explained in what your Certificate of Analysis should show.
Step 11: Packing
Once the COA confirms quality, the powder is packed using vacuum-sealed packing systems with multi-foil, aluminium-coated material that protects against light, moisture, and oxygen exposure during storage and transit.
What Determines Success at Each Step
Every stage in this process depends on the one before it. Poor pond design undermines nutrient management. Inconsistent agitation undermines harvest quality. Manual harvesting undermines drying outcomes. The entire chain is only as strong as its weakest link – which is why turnkey infrastructure designed as an integrated system, rather than equipment purchased piecemeal, produces more consistent outcomes.
The Standard This Process Reflects
The eleven steps above describe cultivation as practiced on properly run commercial farms – the standard that Greenbubble’s systems, deployed across more than 10 countries and underpinning over 90% of India’s spirulina production, are built around. Reviewing actual project case studies shows this process in operation at real Indian facilities, from pond to packaged product.
Make us your source on Google
Table Of Contents